Guide
Using workflows
Using Workflows
There are two foundational ways to use Odyssey: nodes and workflows. A good way to think about the difference between the two is that nodes are the building blocks that help you take an input and turn it into an output while workflows are a collection of nodes that, when strung together, allow you to take an input and turn it into something incredible.
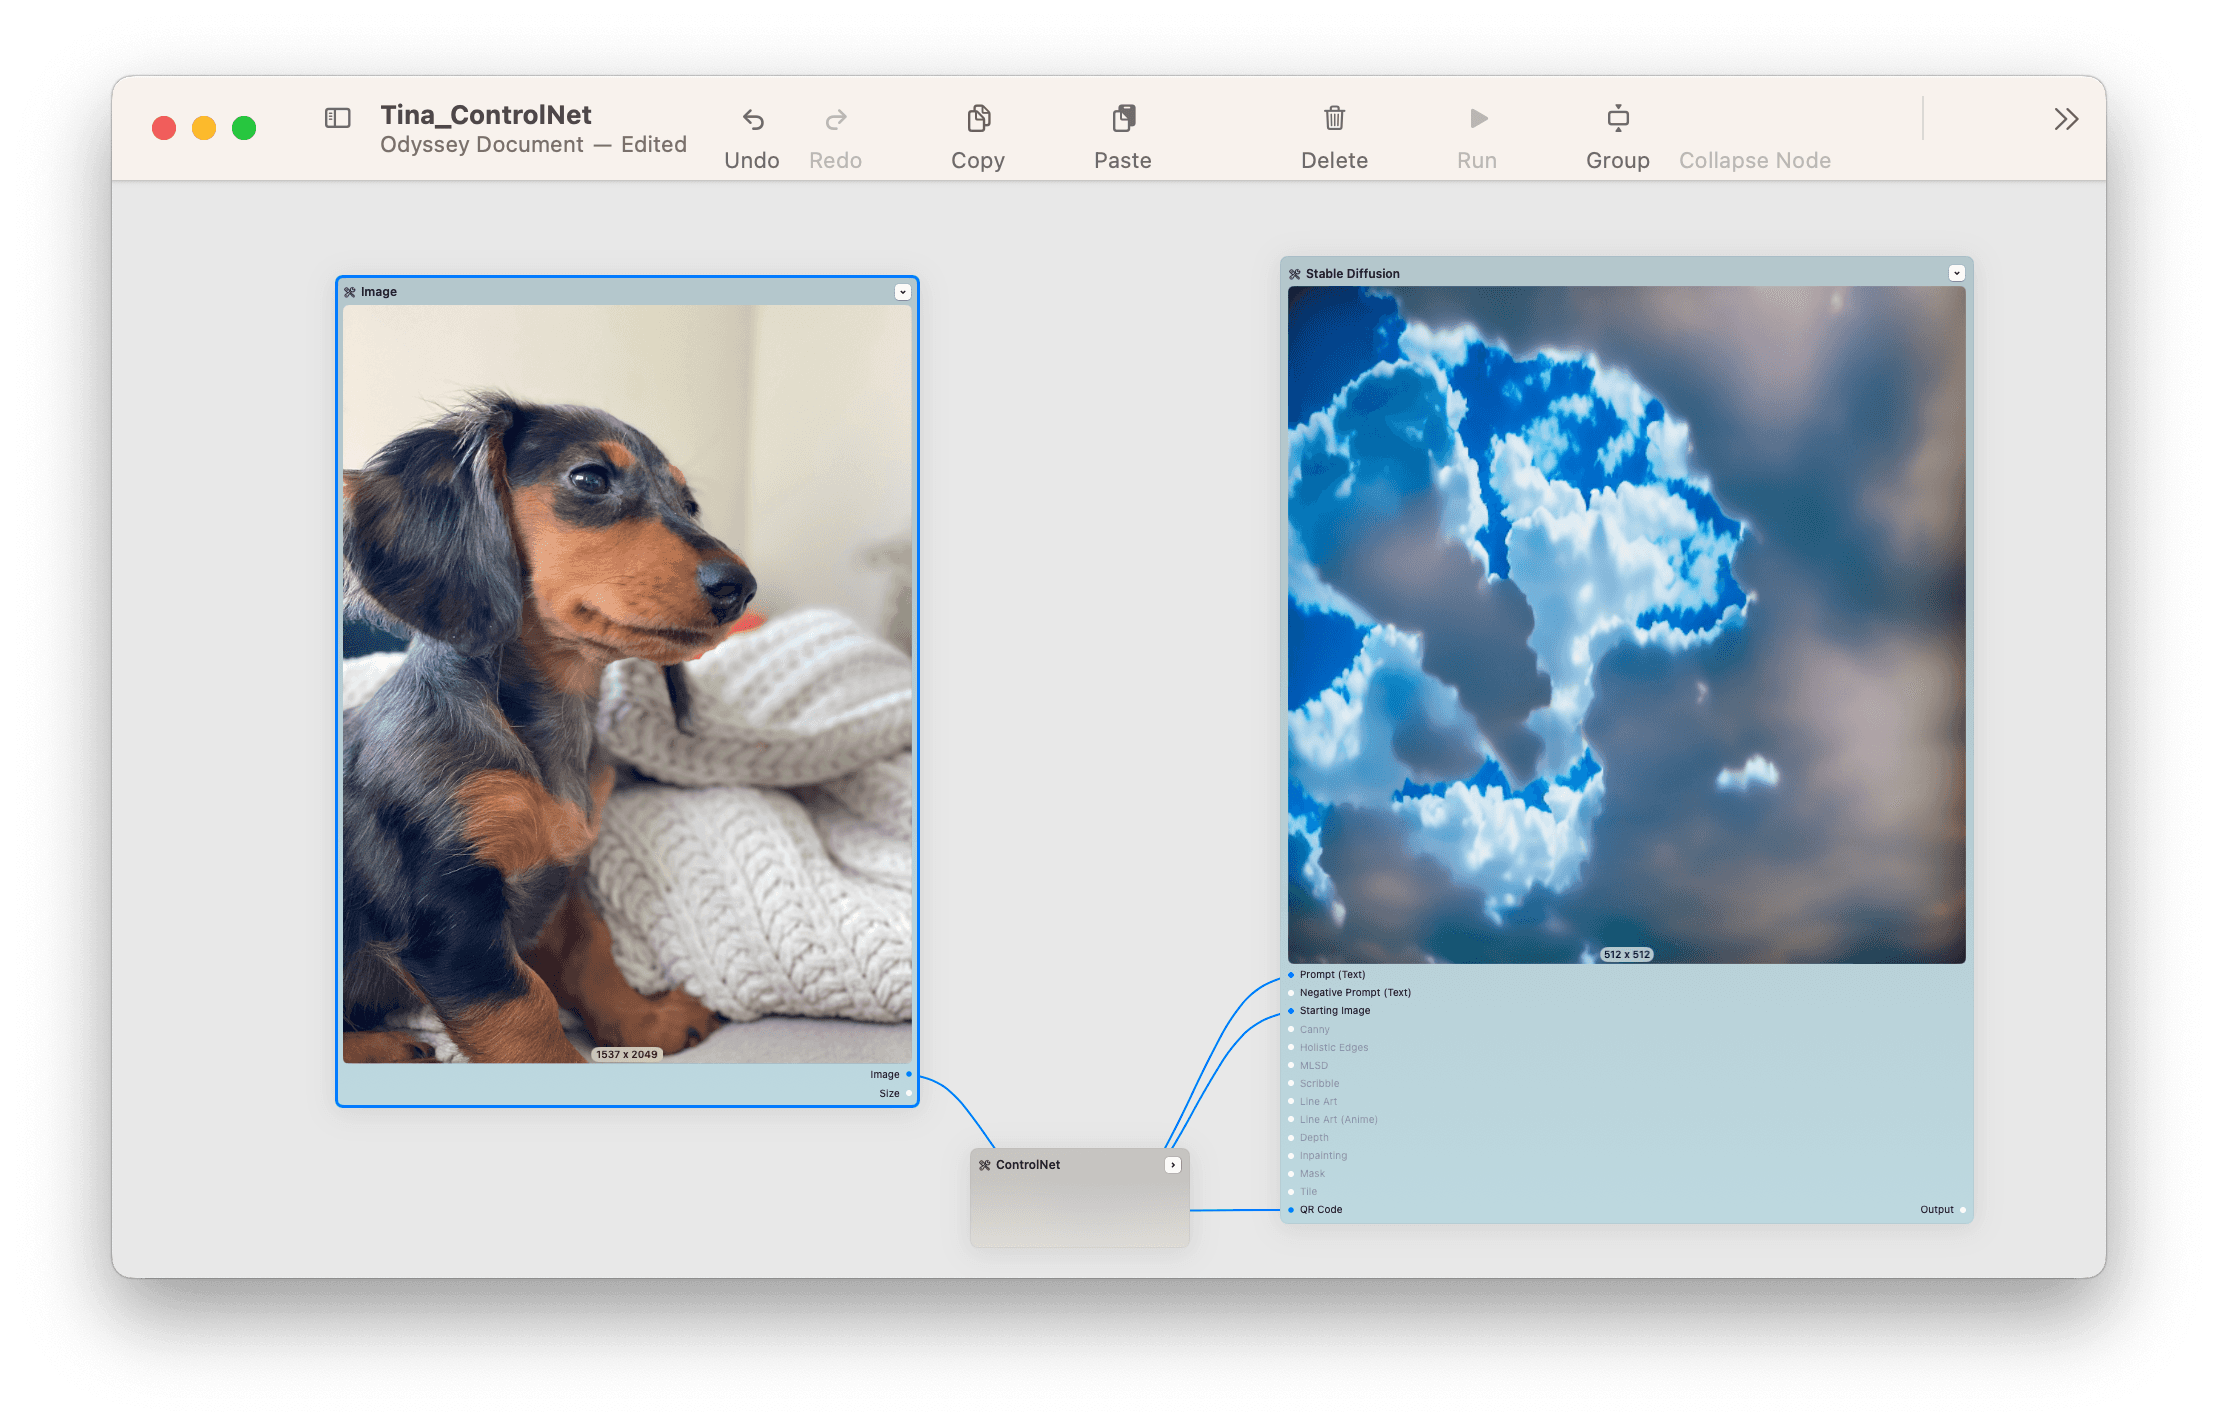
Take, for example, this example workflow where I take a photo of my puppy Tina and place her into the clouds.
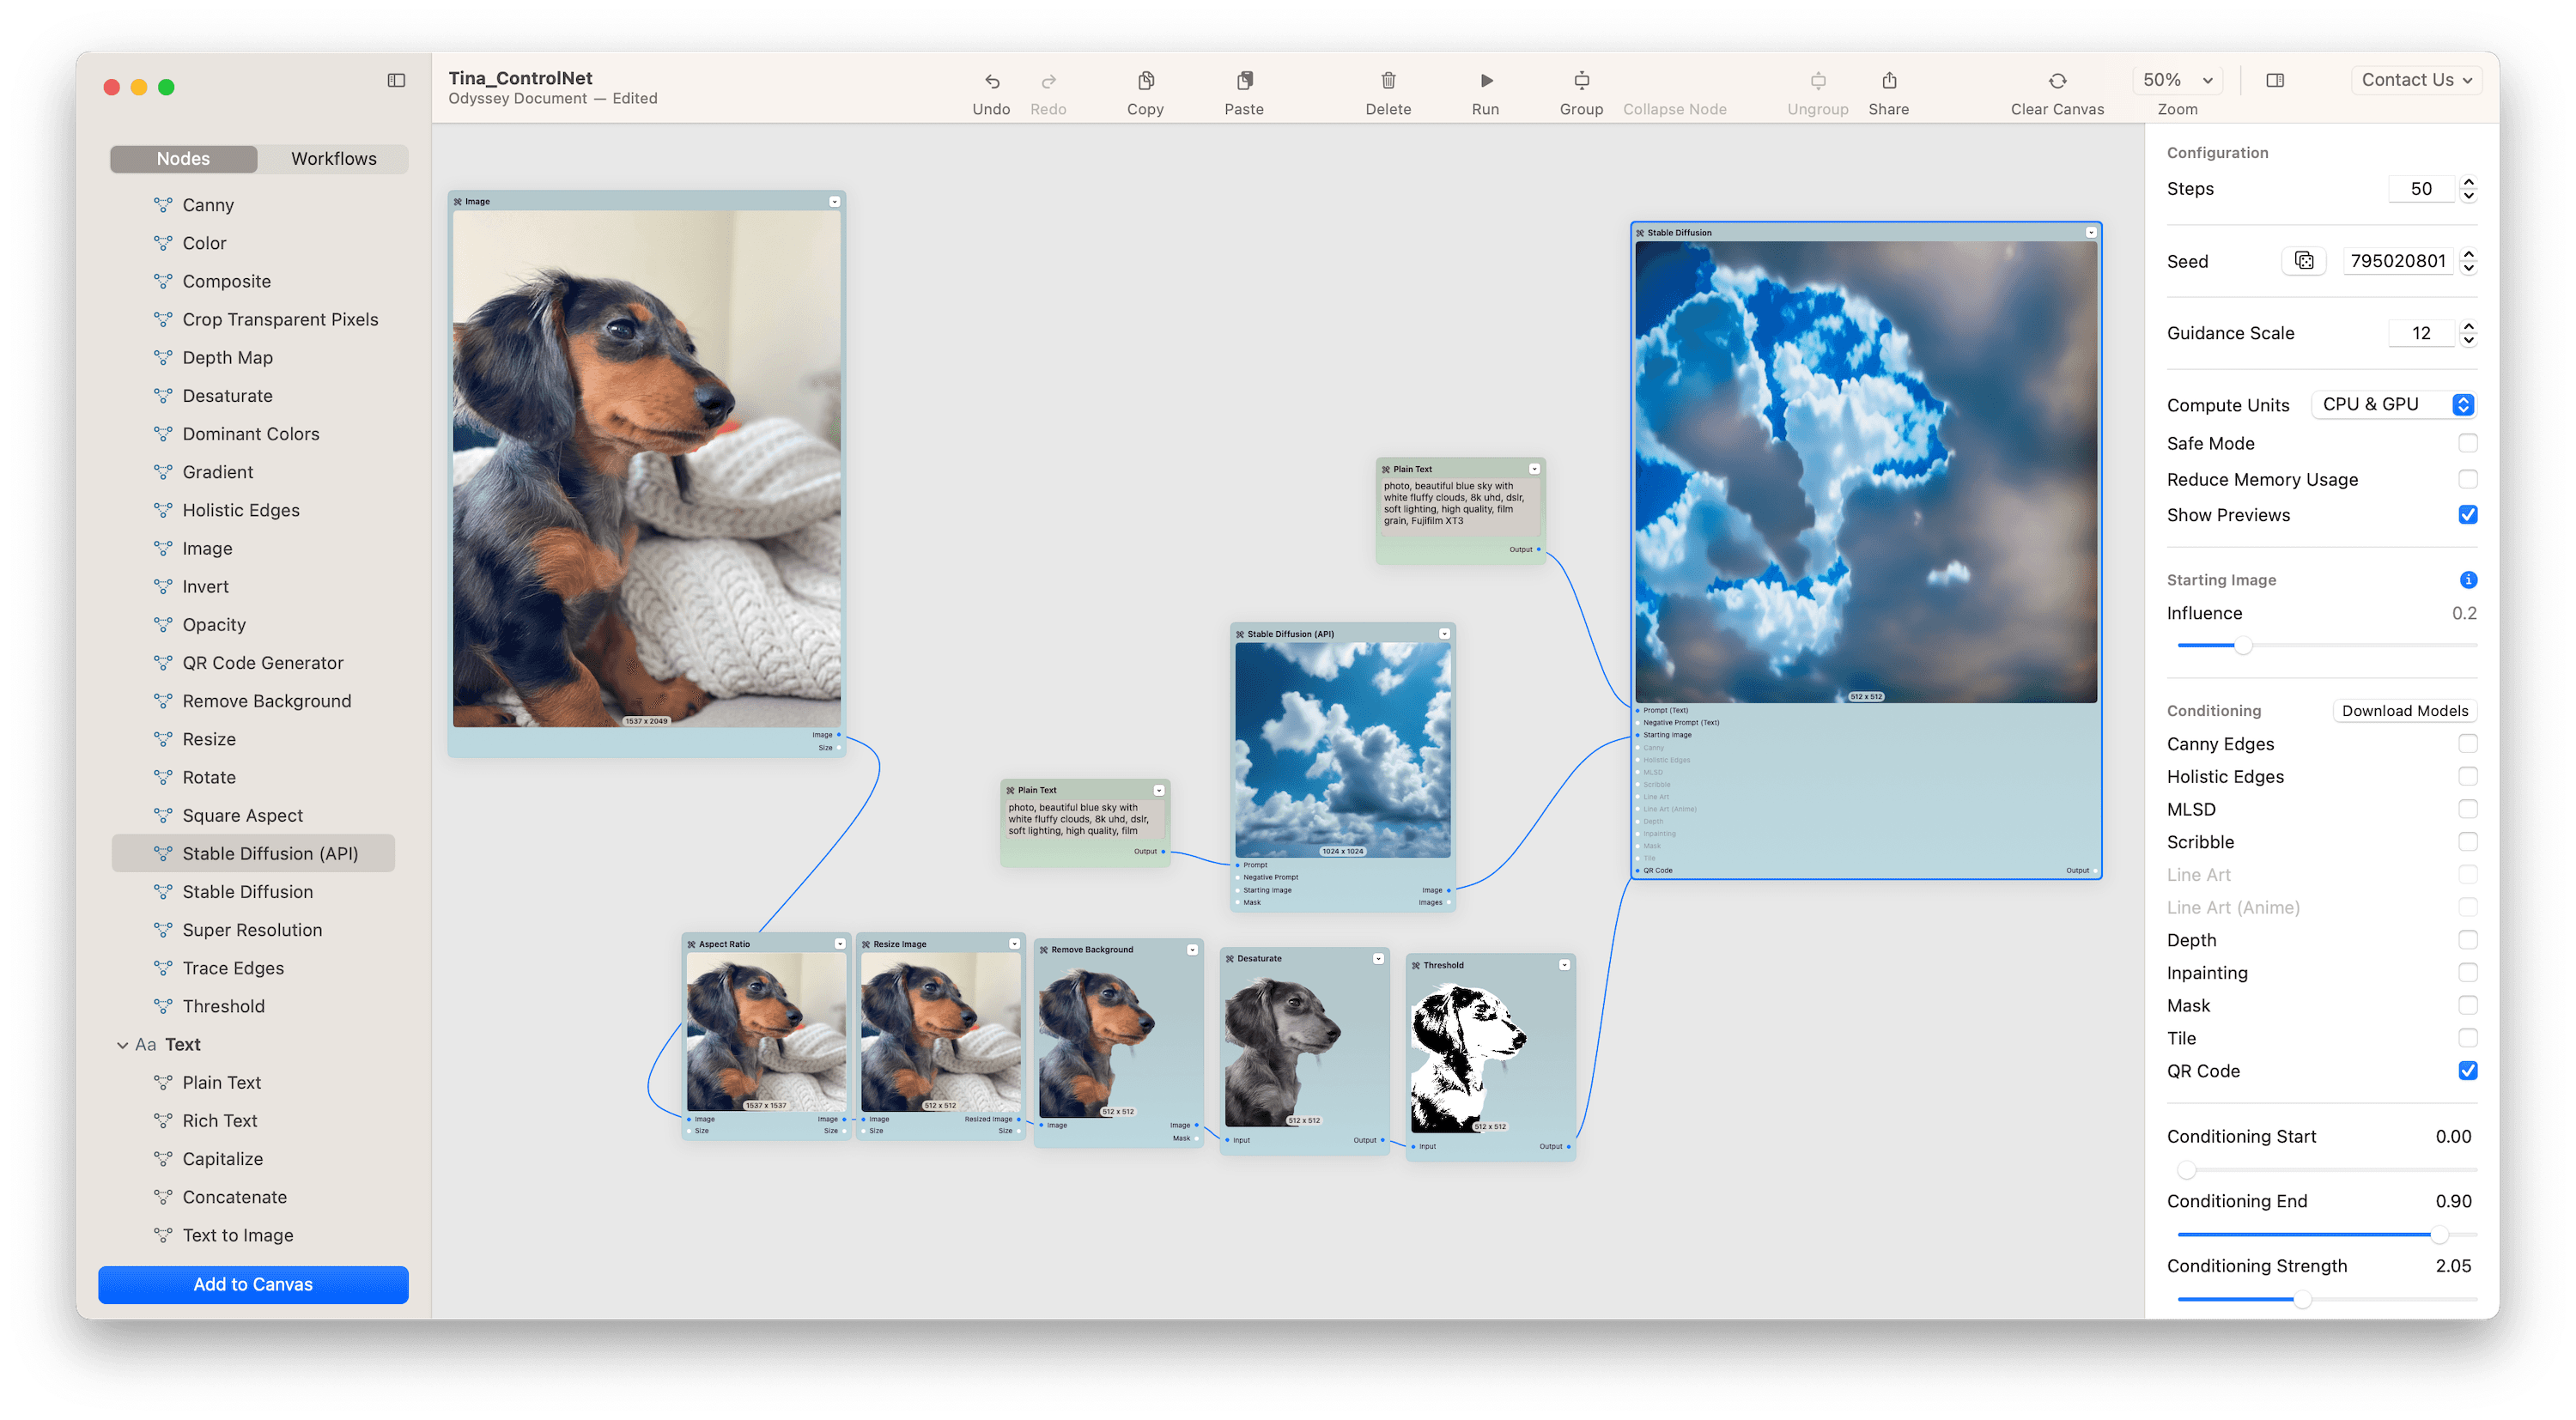
To get the result I'm looking for, I need to connect my initial photo to an aspect ratio node, a resize image node, a remove background node, a desaturate node, then a threshold node before finally connecting the image to Stable Diffusion's QR Code ControlNet input.
I also need to connect a text node to my Stable Diffusion node to get a great starting image of clouds then another text node to Stable Diffusion to bring everything together.
While creating this workflow can be complex, if you start with a workflow file all you need to do is add your photo to get the same result. This is the power of an Odyssey workflow.
Using workflows
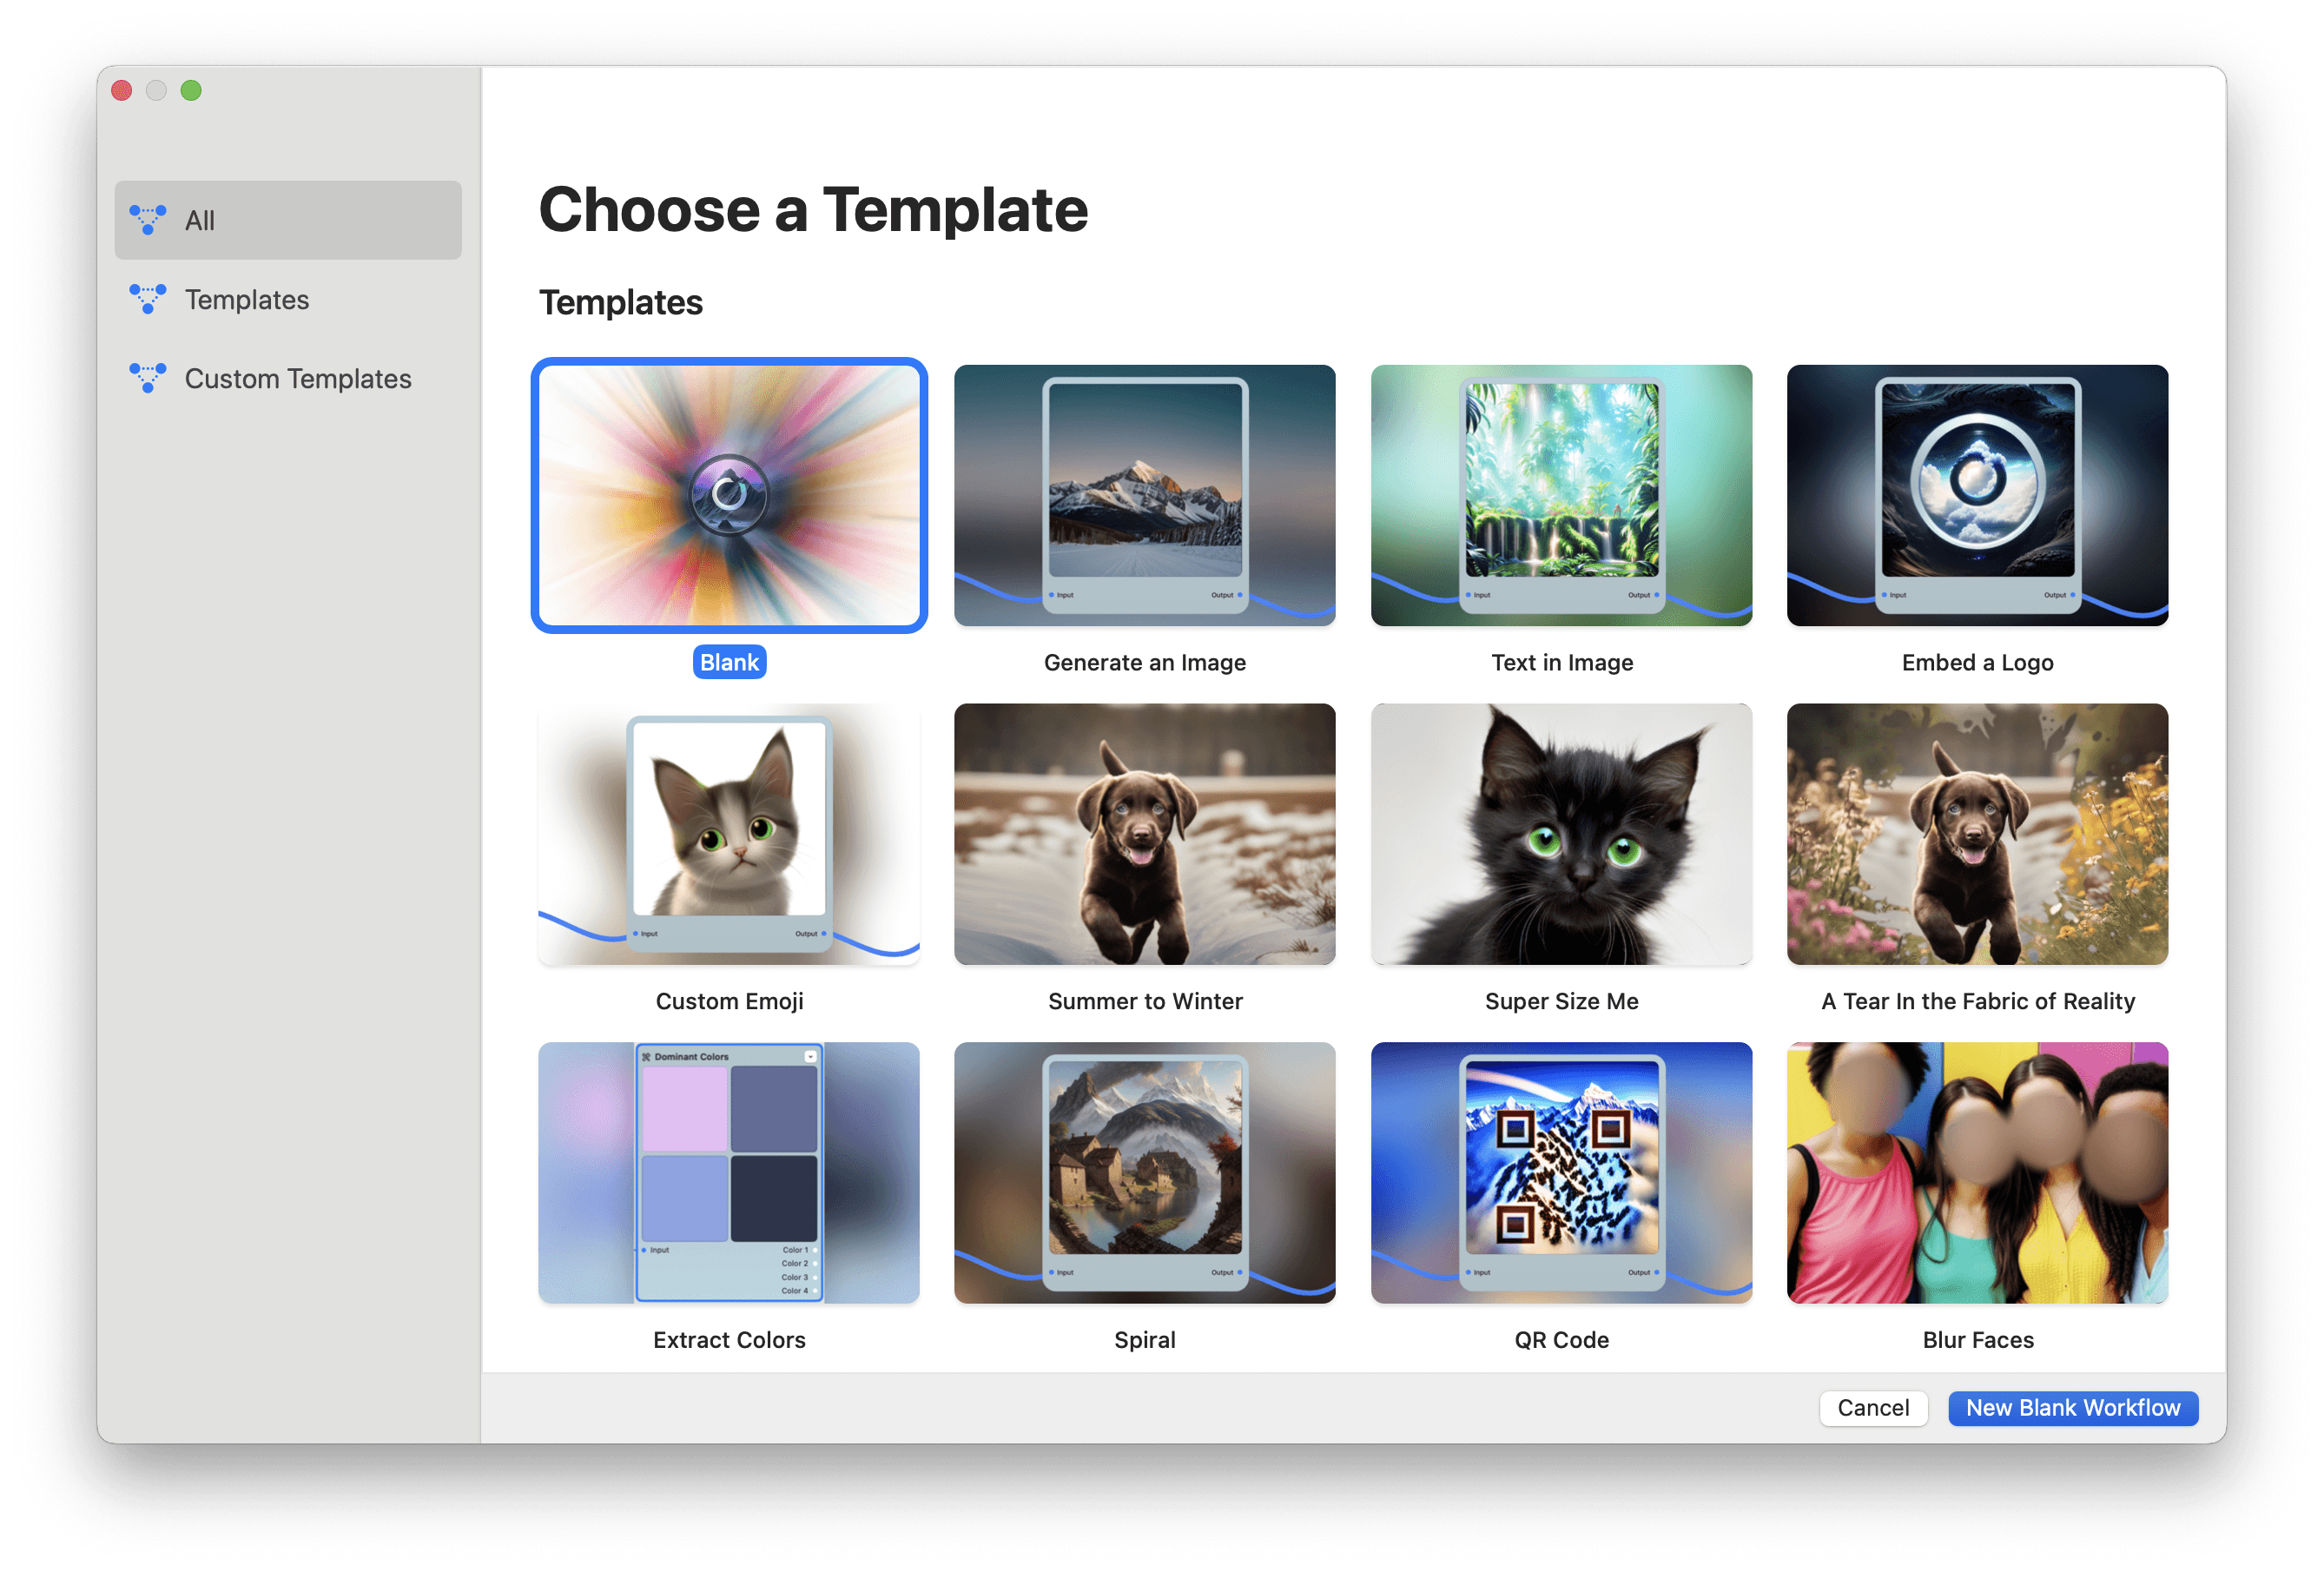
When you first launch Odyssey, you'll have the option of creating a workflow from a template or starting from a blank workflow.
If you have made Custom Templates you can edit the templates directly from this screen as well.
The second way to use a workflow is directly in the Odyssey canvas. Similar to nodes, you can drag and drop a workflow onto your canvas.
Creating templates
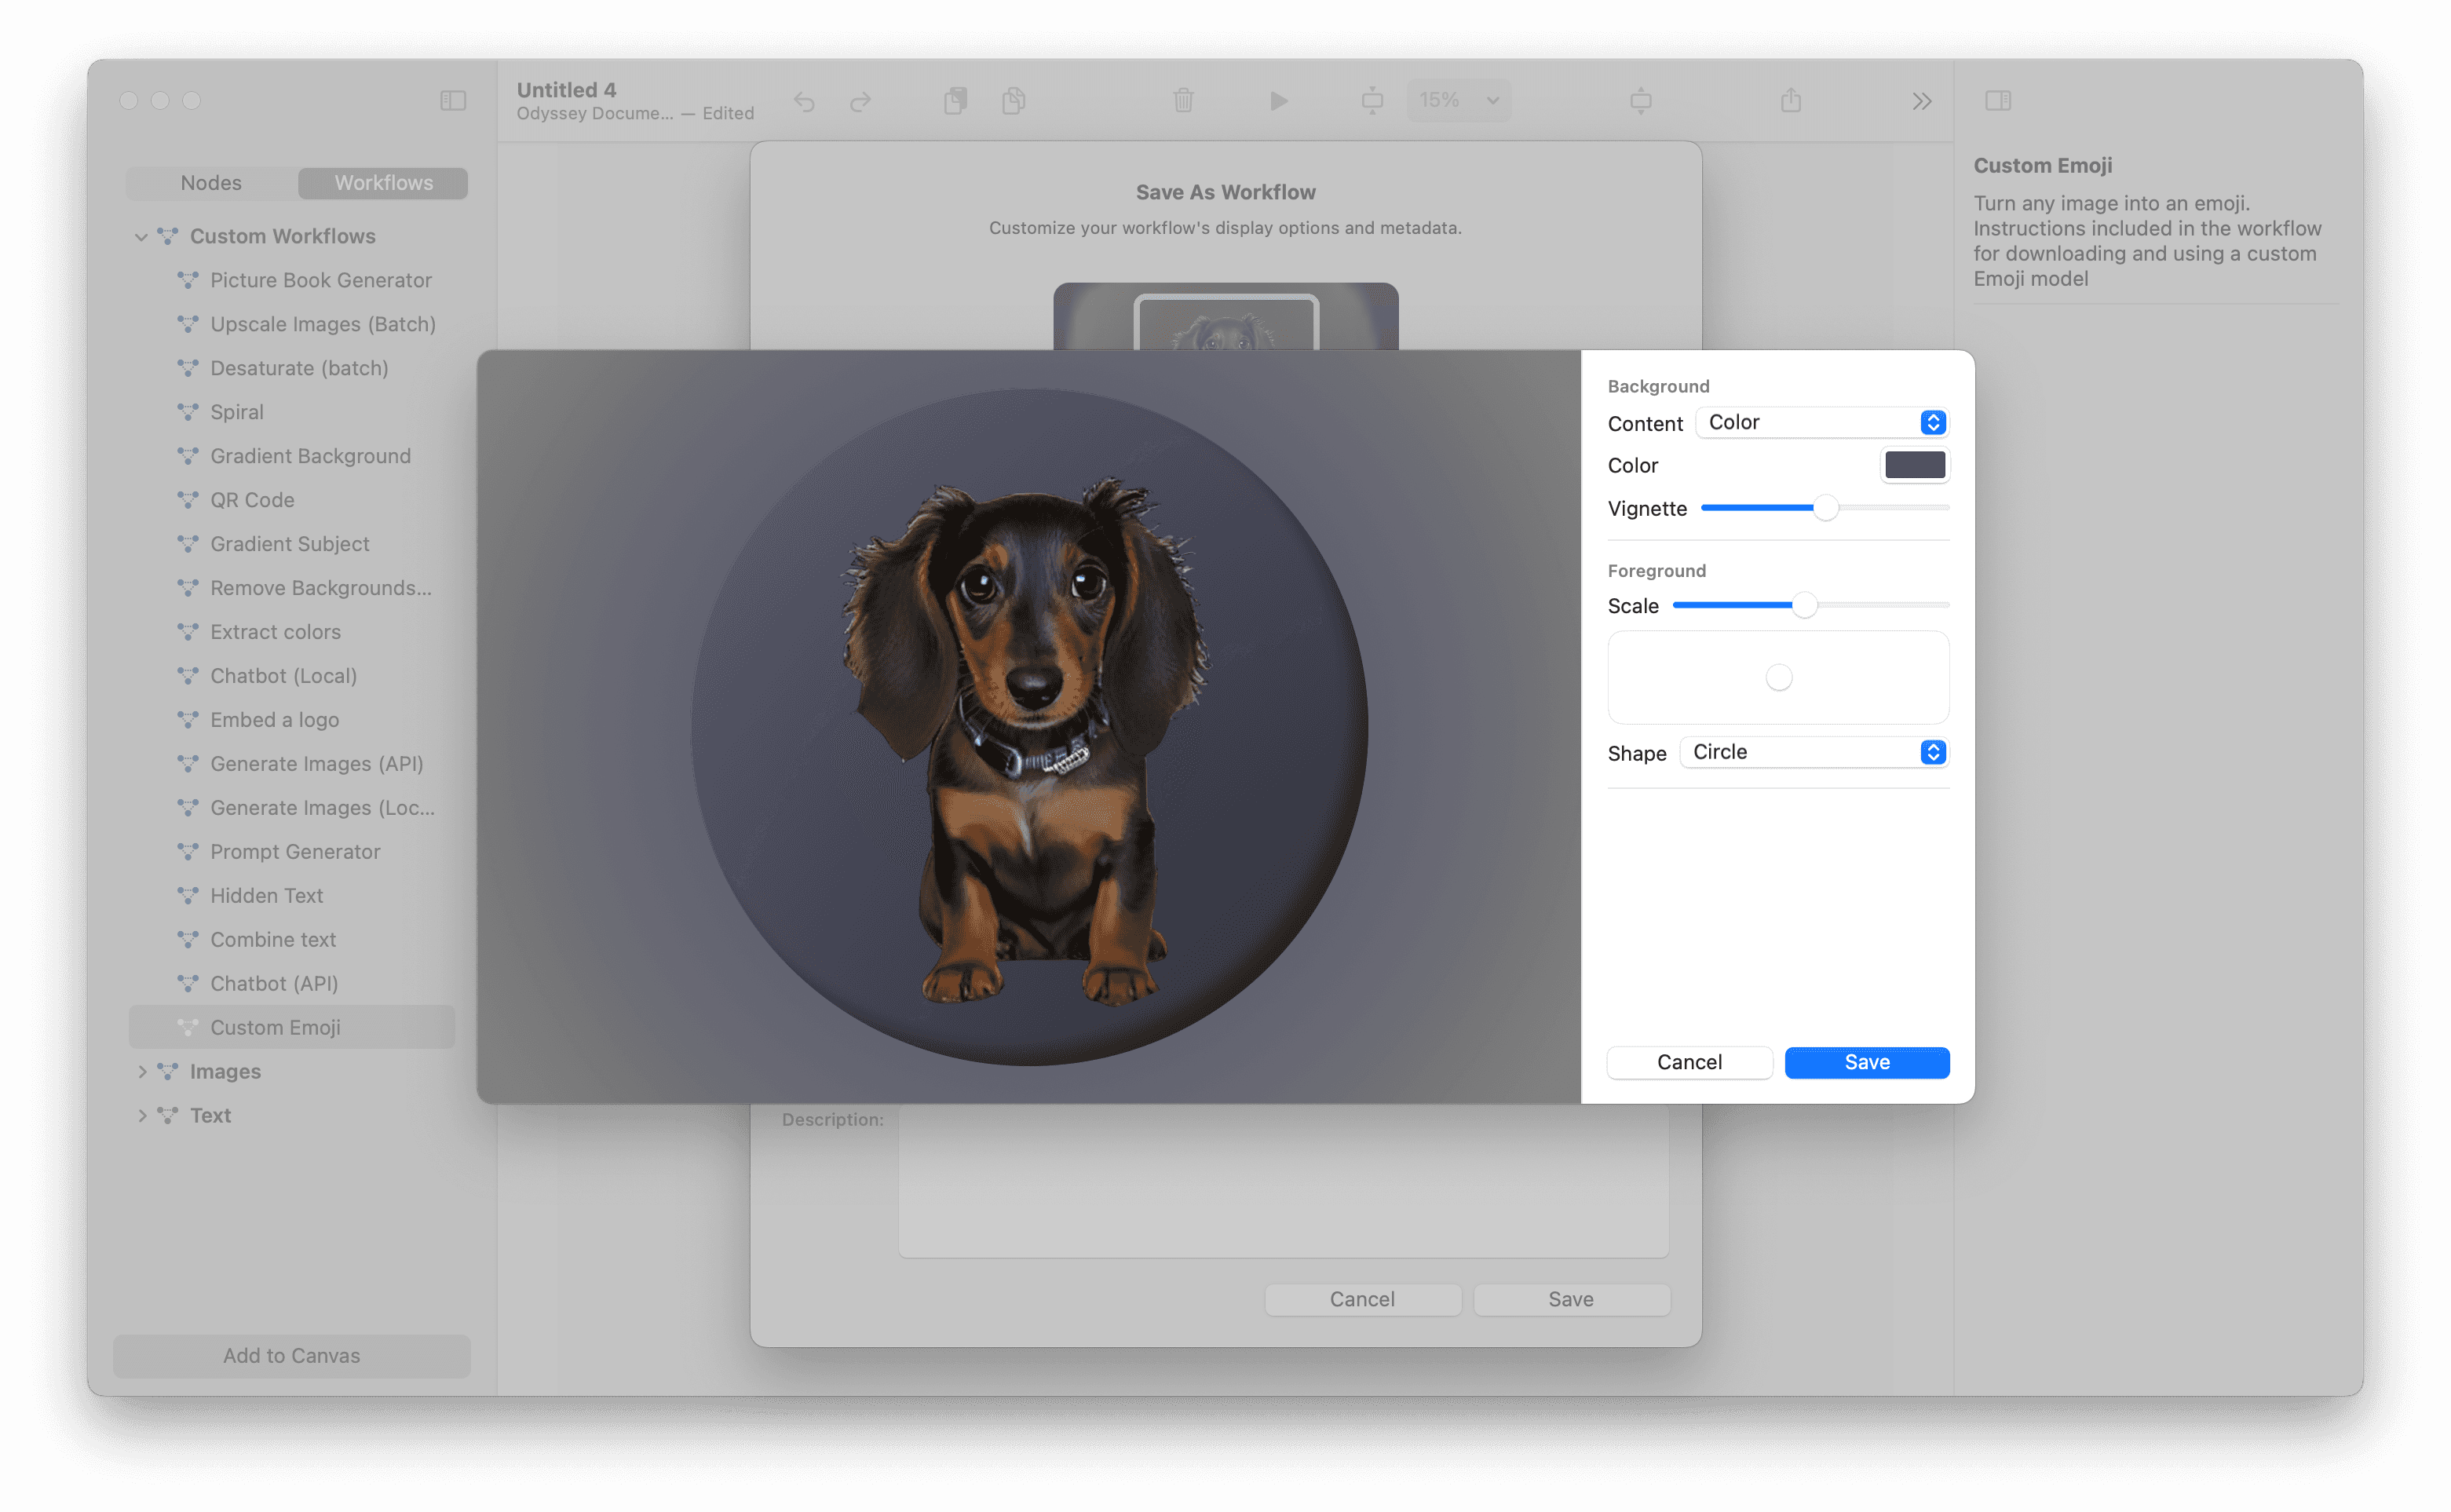
Once you've strung together nodes to get an output you're happy with, you can save the file as a workflow template to use later on. To do this, go to File > Save as template.
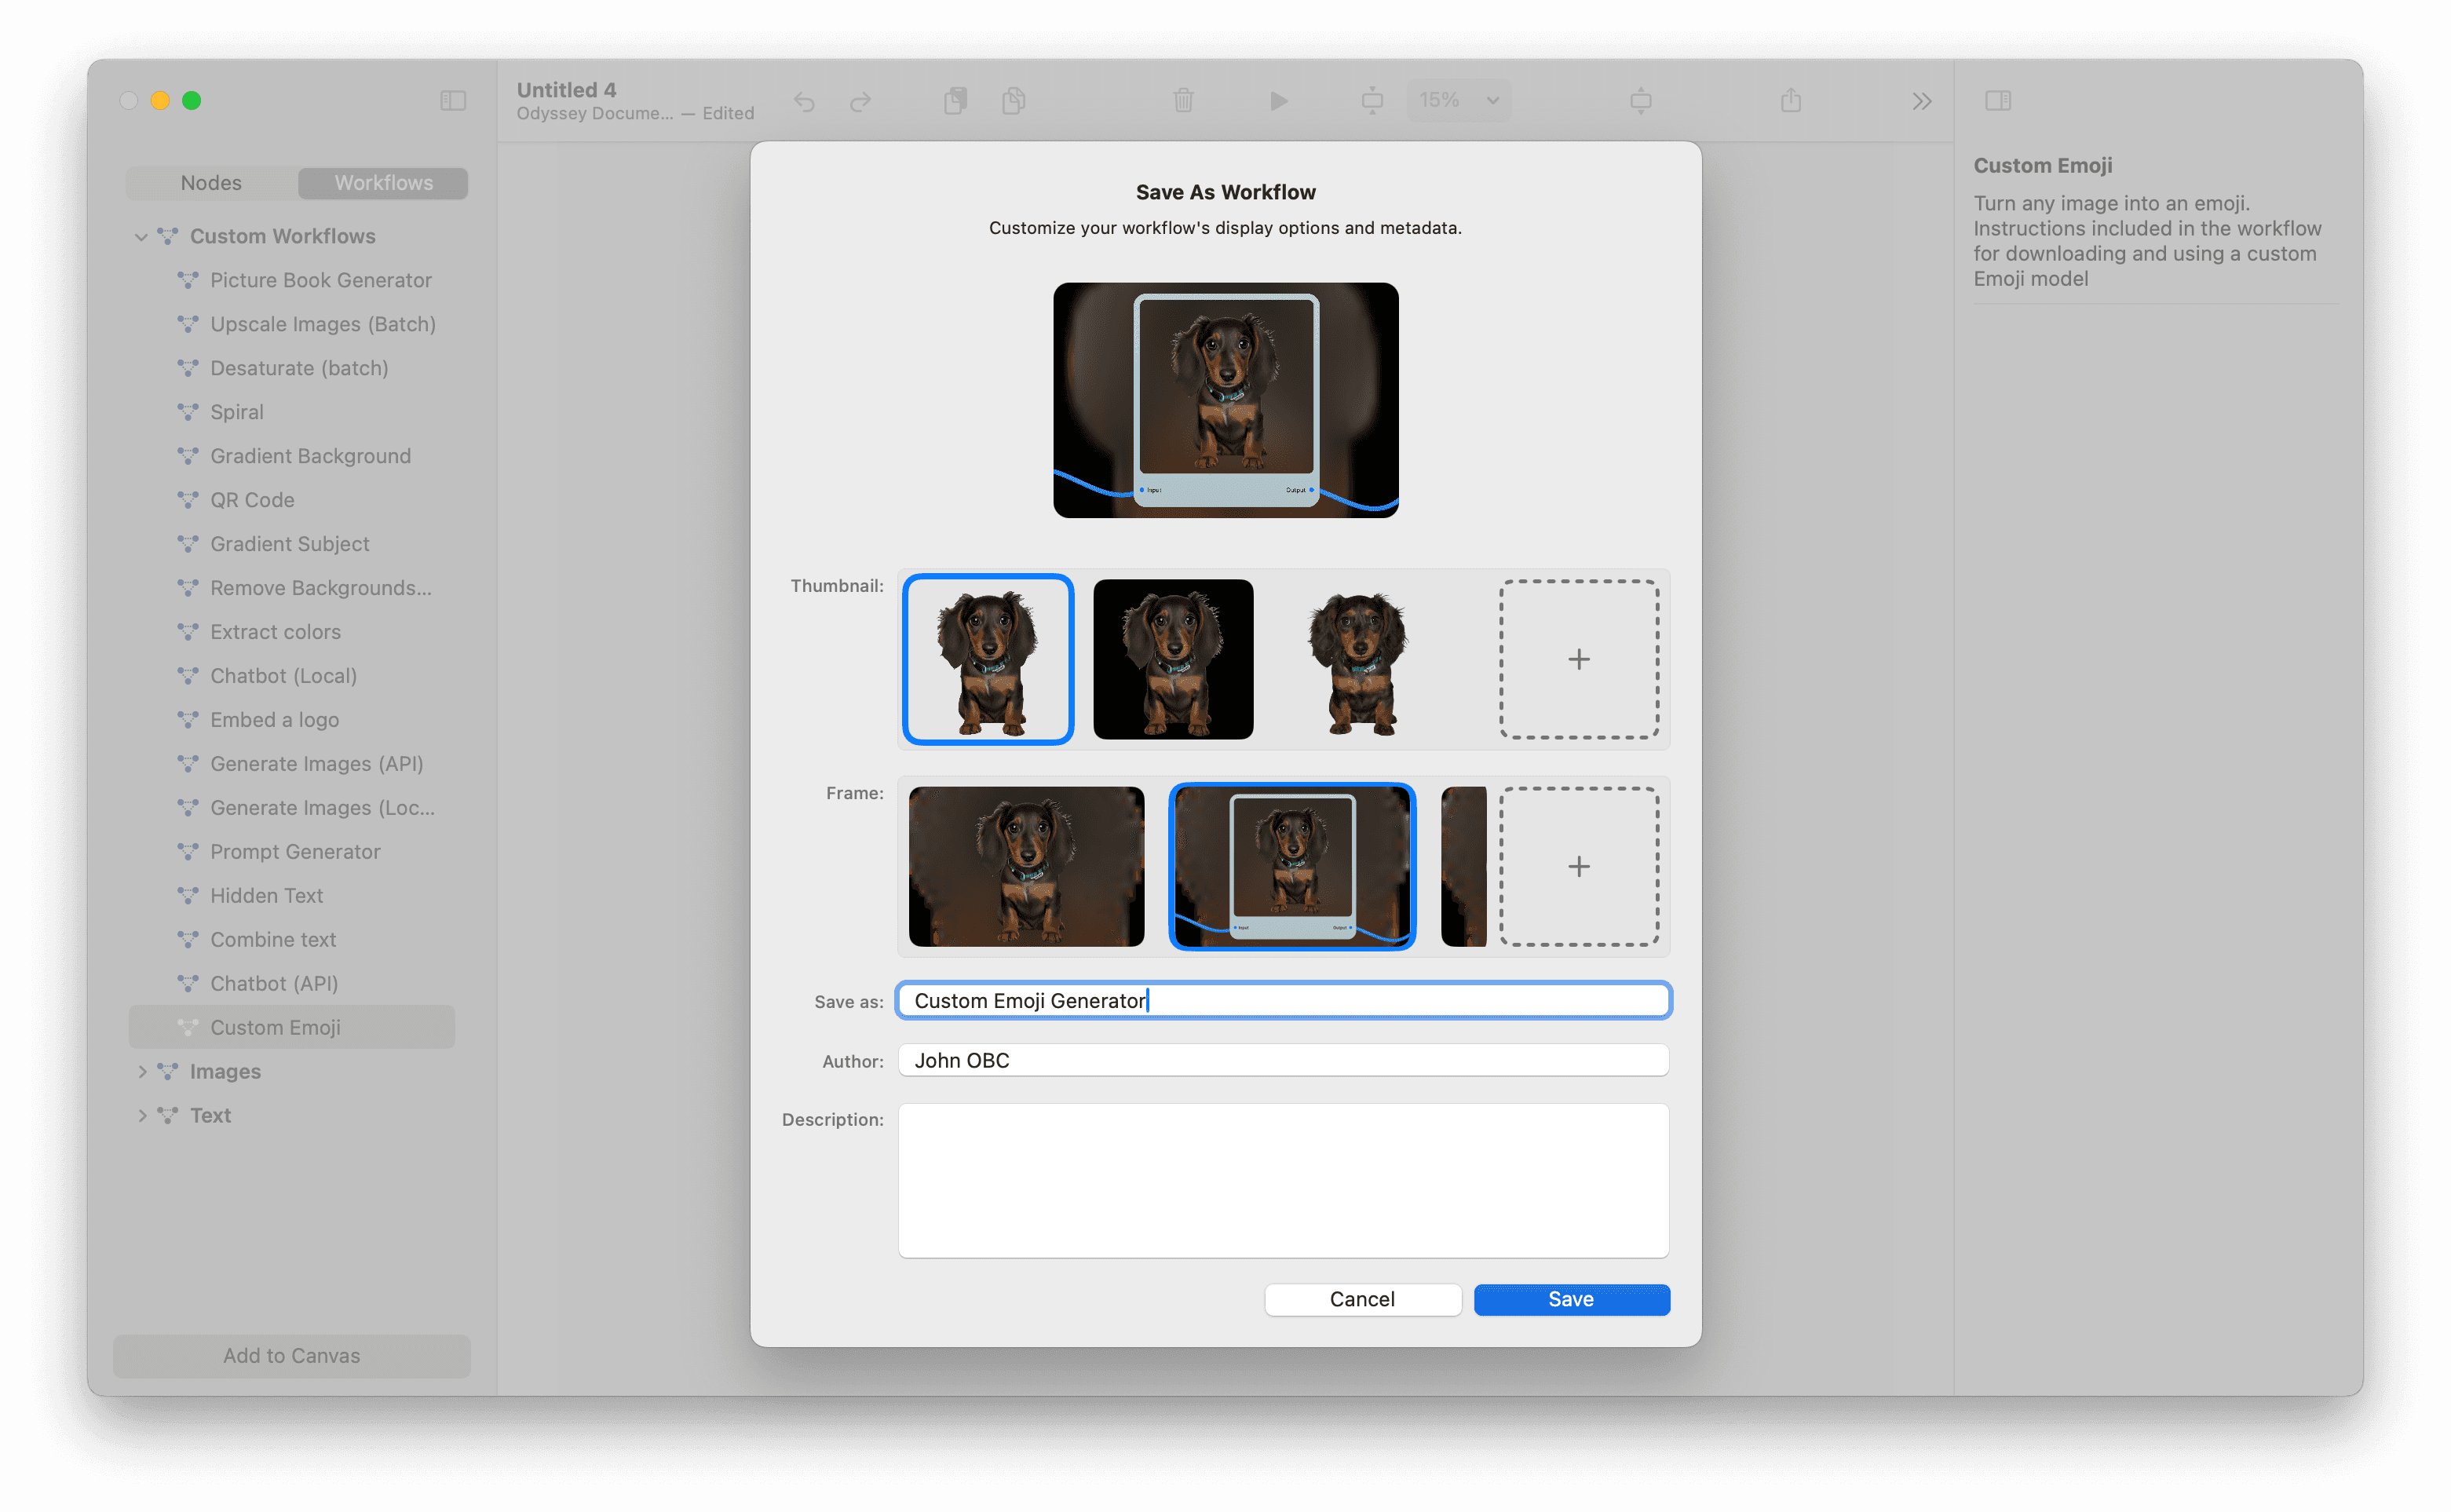
There are a few parameters you can set when saving a workflow template:
Select a thumbnail.Thumbnails can either be an image you upload yourself, an image of the workflow, or any images that are used in your workflowSelect your frame.We've included a few different frame options. You can also design your own frame option by click the + sign.Set your template detailsgive your workflow an author name, and a description
Sharing workflows
There are a few ways to share your workflows.
File > Shareallows you to share the workflow or workflow template by creating an iCloud link, through iMessage, and moreEmbed a workflow.If you right-click on an image in a workflow, you can embed the workflow in that image. If you send someone from Odyssey the image, they can drag it into Odyssey and it will open the same workflow